


Key Takeaways
- Indoor air can contain pollutants you can’t see or smell, including radon, carbon monoxide, VOCs, and fine particles.
- You do not need a lab to get started. A combination of basic home tests and smart monitoring can reveal the biggest issues.
- The most important indoor air tests are for radon, carbon monoxide, humidity, and particulate matter (PM2.5).
- Results matter only if you act on them. Source control, ventilation, and filtration are usually the most effective next steps.
- If symptoms persist or you suspect hidden mold or combustion issues, professional testing may be worth the investment.
Indoor air quality sounds simple until you start asking questions. What should you test for? Which monitors are accurate? Is that musty smell mold or just high humidity, and why do you feel congested at home but fine elsewhere?
The good news is you can make real improvements without obsessing over every possible pollutant. Testing helps you focus on what matters most in your home, then you can take targeted steps like reducing sources, improving ventilation, and using filtration. Many people also use home air purifiers to help capture particles that stay airborne, especially in bedrooms and main living areas.
Here is a clear, step-by-step guide to testing your home’s indoor air quality in a way that is practical, science-based, and actually useful.
Why You Should Test Your Home’s Air Quality
Indoor air quality (IAQ) testing helps you answer three basic questions:
-
What pollutants are present?
-
Where are they coming from?
-
How strong is the exposure right now?
The Environmental Protection Agency lists common indoor air pollutants as carbon monoxide, smoke, radon, mold, particulate matter, and volatile organic compounds (VOCs). They also emphasize that every home should have smoke and carbon monoxide alarms and should be tested for radon.
The Most Common Indoor Air Pollutants to Test For
Radon (high impact, easy to test)
Radon is an odorless radioactive gas that can build up indoors, especially in basements and lower levels. The CDC states that testing is the only way to know if your home has high radon levels, and notes that the EPA recommends mitigation when radon is at or above 4 pCi/L.
Carbon monoxide (immediate safety concern)
Carbon monoxide (CO) is odorless and can cause serious illness or death if present at high levels. The Consumer Product Safety Commission recommends carbon monoxide alarms on each level and outside sleeping areas, and recommends annual inspection of fuel-burning appliances.
Humidity (controls mold, dust mites, and comfort)
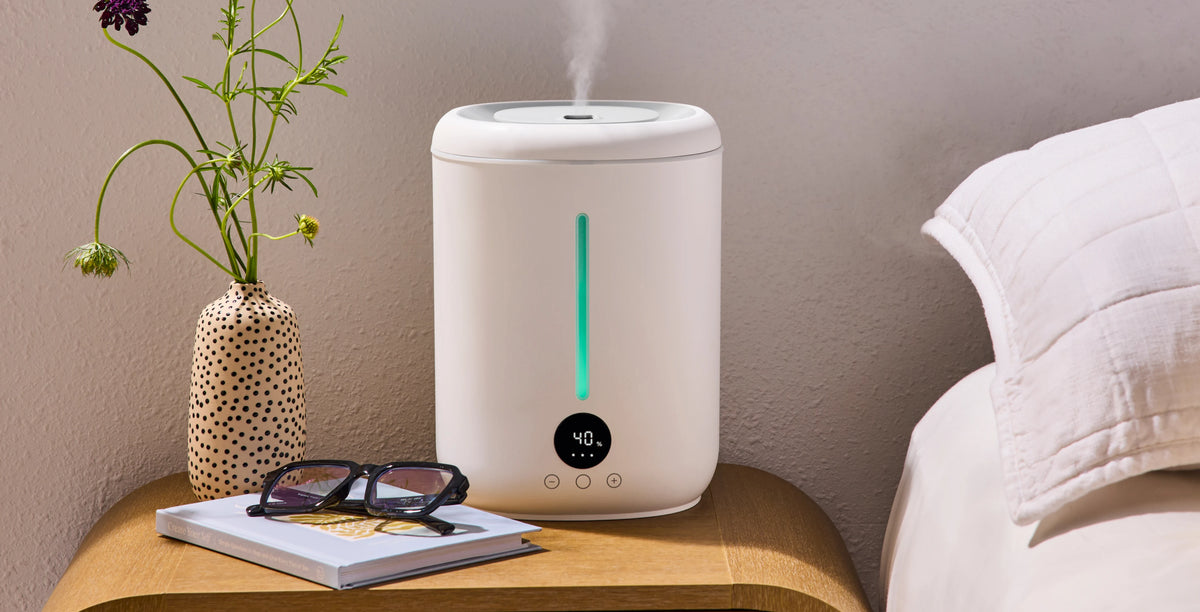
Humidity is not a pollutant, but it strongly shapes indoor conditions. High humidity encourages mold growth and dust mites, while low humidity can worsen dryness and irritation. A basic hygrometer can tell you whether your home is in a healthy range, and you may use a dehumidifier or cool mist humidifier to regulate relative humidity levels.
Particulate matter (PM2.5 and PM10)
Fine particles can come from cooking, candles, fireplaces, wildfire smoke, dust, and outdoor pollution (read about the U.S. states with the worst air quality). PM2.5 is small enough to penetrate deep into the lungs. These particles often spike indoors even when your home looks clean.
VOCs (common, often higher indoors than outdoors)
VOCs are gases released by building materials, furniture, cleaning products, air fresheners, paints, and hobby supplies. Concentrations of many VOCs are often higher indoors, sometimes up to 10 times higher than outdoors.
How to Easily Test Your Home’s Indoor Air Quality
Step 1: Start With a Visual Inspection
Before buying any monitors, check for common signs of poor indoor air quality:
-
Musty odors or visible mold
-
Water stains or condensation
-
Excessive dust around vents
-
Strong chemical or smoke odors
If symptoms like headaches, congestion, or coughing improve when you leave home, indoor air may be a contributing factor.
Step 2: Test for Radon
Radon is odorless, invisible, and one of the most important pollutants to test for. Place a test kit on the lowest livable level of your home and follow the manufacturer's instructions. If levels are 4 pCi/L or higher, the CDC recommends mitigation by a licensed professional.
Step 3: Check Carbon Monoxide Protection
Install carbon monoxide detectors near sleeping areas and test them regularly. Homes with gas appliances, fireplaces, or attached garages should pay particular attention to CO safety.
Step 4: Measure Relative Humidity
Use a hygrometer to keep indoor humidity between 30–50%. High humidity increases the risk of mold and dust mites, while very low humidity can cause irritation.
Step 5: Monitor PM2.5 and VOCs
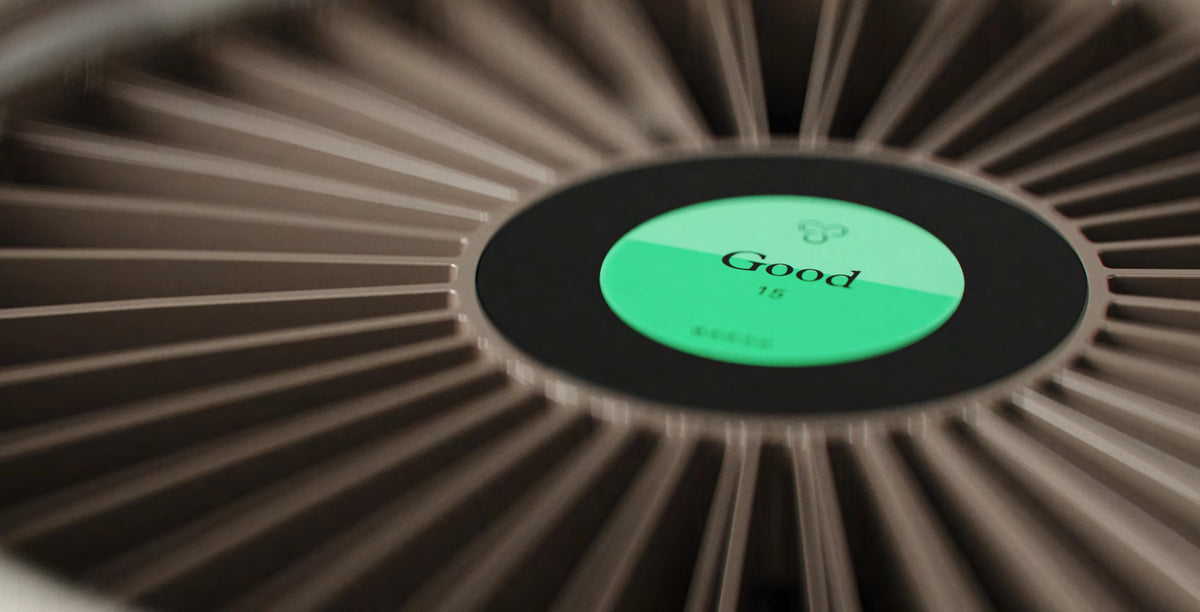
An indoor air quality monitor can track fine particles (PM2.5) and, in some models, volatile organic compounds (VOCs). Watch for spikes during cooking, cleaning, renovations, or after bringing new furniture into your home.
Step 6: Consider Mold Testing When Necessary
Visible mold should be removed regardless of testing. Mold testing is most useful when you suspect hidden mold, have experienced water damage, or need documentation for insurance or a landlord.
Step 7: Consider Mold Testing Only When It Will Change Your Next Step
Visible mold should be removed regardless of its type, so testing is usually unnecessary. Mold testing is most useful if you suspect hidden mold, have experienced flooding or a concealed leak, or need documentation for insurance or a landlord.
In many cases, you can reduce your exposure effectively without testing by controlling moisture, removing affected materials, and reducing airborne mold spores.
If you are dealing with damp spaces, you may also want solutions specifically designed for those areas, such as air purifiers for basements or air purifiers specifically for mold.
How to Interpret Your Results Without Getting Overwhelmed
Air quality changes throughout the day, so look for:
-
Which rooms have the poorest air quality
-
Which activities cause pollution spikes
-
Whether your improvements reduce those spikes
Most indoor air quality issues can be addressed using three strategies:
-
Source control: Eliminate or reduce the pollution source.
-
Ventilation: Bring in fresh outdoor air when conditions allow.
-
Filtration: Remove airborne particles with effective air filtration.
This simple framework aligns with EPA guidance and helps you prioritize the changes that will have the greatest impact.
When to Have Your Home’s Air Professionally Tested
DIY testing is enough for many households. But professional testing may be worth it when:
- you suspect hidden mold behind walls
- you have recurring water intrusion or dampness
- you suspect combustion problems
- you want HVAC assessment and airflow diagnostics
- someone in the home has severe respiratory illness
Frequently Asked Questions
What is the best way to test indoor air quality?
The most effective approach is to combine targeted tests for high-priority pollutants like radon and carbon monoxide with ongoing monitoring of humidity, particulate matter, and VOCs. The EPA recommends focusing on source identification and using test results to guide practical changes rather than relying on a single all-in-one test.
How do I check the air quality inside my room?
You can start with a hygrometer to track humidity and a low-cost PM2.5 monitor to see how everyday activities affect particle levels in real time. Visual signs like dust buildup, condensation, or persistent odors can also signal air quality issues that are worth addressing.
How to tell if indoor air quality is bad?
Common clues include musty smells, lingering chemical odors, frequent headaches, congestion, coughing, or symptoms that improve when you leave the space. According to the EPA, indoor air can be more polluted than outdoor air, even when it looks clean.
How much does indoor air quality testing cost?
Basic DIY tests like radon kits and hygrometers often cost between $10 and $50, while consumer air quality monitors typically range from $100 to $300. Professional indoor air quality inspections can cost several hundred dollars or more, depending on the size of the home and the number of pollutants tested.


