

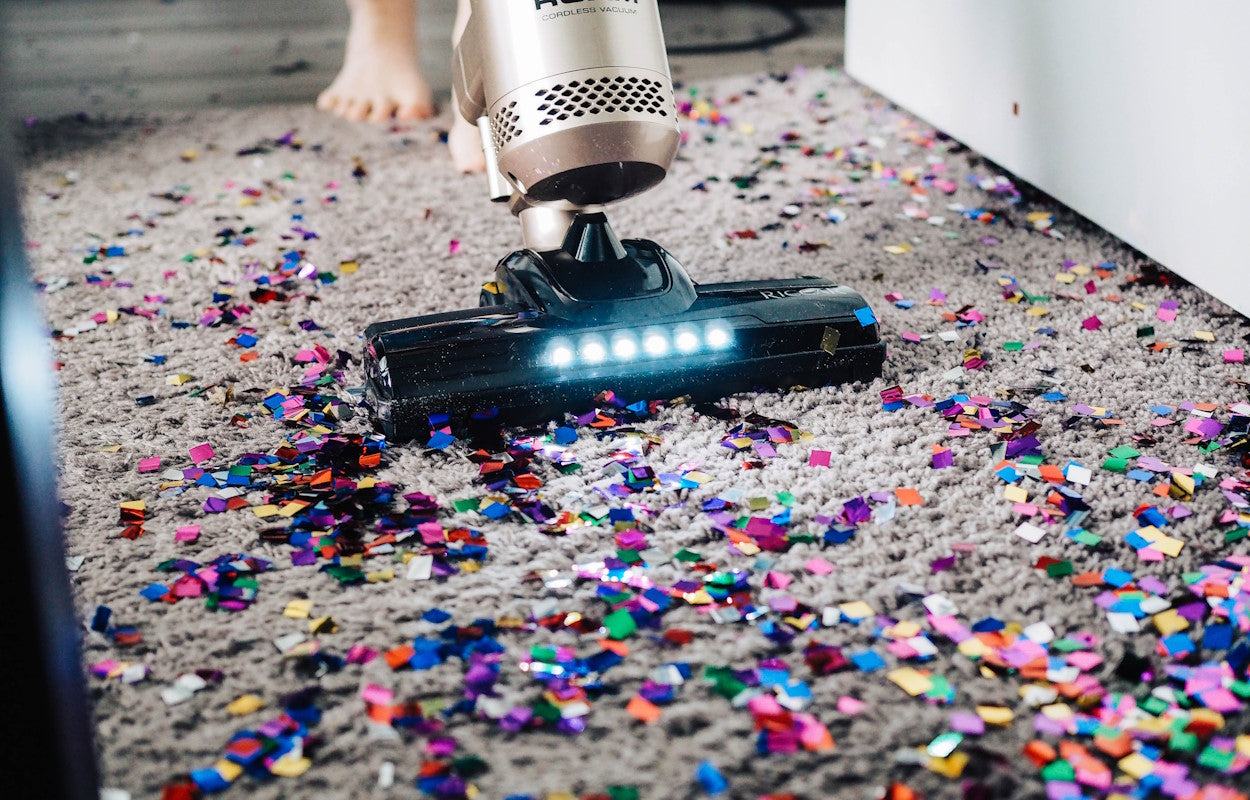

Vacuums are one of the most powerful cleaning tools you can have in your home, but they still need a little help from time to time. Every vacuum, from simple upright models to automated smart vacuums with all the bells and whistles, requires regular cleaning and maintenance. Typically, you should clean your vacuum every six months, though you may need to do it more often if you notice stinky vacuum odors, a loss of suction, or visible debris left behind during use. This guide (along with your vacuum’s owner’s manual) can help you give your vacuum some extra attention with a thorough cleaning inside and out.
How do vacuum cleaners work?
Most of the time, you probably don’t think about how your vacuum cleaner works unless there’s something wrong with it. However, since you’ll be taking your vacuum apart to clean it, it can be helpful to understand how everything fits together. Most vacuums have the same main components: an electric motor (shown below), a fan, an intake port, an exhaust port, a filter or porous bag, and the housing that holds everything together.

When you turn on your vacuum cleaner, the electric motor powers the fan. Angled fan blades push air toward the exhaust port and pull in new air—along with any nearby dirt and dust—through the intake hose. If the hose is attached to the vacuum head, the rotating brush helps kick up dust and dirt from the carpet so the vacuum can suck it up. Once inside the vacuum, the air passes through one or more filters that collect dirt and dust particles on the way to the exhaust port. Most of the debris ends up in the dust collection bag or canister.
Depending on the make and model of your vacuum, dust and dirt may travel through (and eventually build up on) multiple components, all of which should be cleaned regularly to help keep your vacuum working properly.

Preparing to clean your vacuum
Deep cleaning your vacuum shouldn’t take more than 30 minutes to an hour, especially if you save yourself some time by gathering everything you need before you start. Supplies may include replacement bags or filters, compressed air, scissors to help clean the rotating brush, a screwdriver to disassemble the vacuum, a damp cloth, a flashlight, and a pipe cleaning brush or dryer vent brush.
Cleaning your vacuum will likely kick up dust into the air, so you’ll want to take steps to minimize your exposure to the unhealthy chemicals, allergy triggers, and other pollutants it contains. Set up your cleaning supplies in a well-ventilated room, open the windows if possible, and have a garbage can nearby to dispose of the dust and dirt from your vacuum, as well as any used paper towels or filters. For further protection from dust, wear gloves and a face mask while you clean (an N95 mask offers the best protection) and change into a fresh set of clothes when you’re finished cleaning.
Learning more about your vacuum
Next, you should figure out a few basic things about your vacuum cleaner’s design. If you still have the owner’s manual, check it out. It will likely have a guide on taking your vacuum apart for cleaning. If not, you may be able to find an online version of the manual by looking up your vacuum’s make and model.
Familiarize yourself with a few basic components:
- The bag or plastic container that collects dust and other debris
- The filter or filters
- The hose and other attachments
- The vacuum head and rotating brush
Note where each component is and how everything fits together before you start deep cleaning your vacuum.
Taking your vacuum apart
Once you know your way around your vacuum, it’s time to start taking it apart. Most vacuums are designed to be relatively easy to clean, so you should be able to detach most of the components and access the internal surfaces by pressing buttons or opening latches.

First, unplug the vacuum and remove the dust bag or canister. If your vacuum has a canister, immediately empty the contents into the trash. If it has a bag, check if it’s full and replace it if needed. (This may seem obvious to some, but an overstuffed bag or canister can block airflow and decrease the efficiency of your vacuum.)
Then, remove the hose, other attachments, outer casings, and rotating floor brush. You may need to use a screwdriver for this part, but many vacuums have little doors or hatches that give you access to hard-to-reach areas without having to unscrew anything. Check the owner’s manual to make sure you’re not missing any cleanable areas.
Cleaning out the dust and dirt
After you disassemble your vacuum, it’s time to start cleaning:
Hose attachments and dust canister
First, take the hose attachments and any other plastic pieces that aren’t attached to the vacuum to the sink for a thorough cleaning. If your vacuum has a dust canister, read your owner’s manual to see if it can get wet. If so, use warm soapy water and a cloth to wash and rinse the canister. If not, use a dry microfiber cloth to wipe out the canister and a small brush or can of compressed air to clean dust from any hard-to-reach crevices. 
Filters
Take out any filters. If they’re washable, gently tap them on the edge of the sink to knock loose any dust on the surface, then rinse them with cold water. You can tell they’re clean when the water that runs through the filter is clear. Lay them flat to dry.
If your vacuum has disposable filters, replace them with new ones. Don’t try to wash disposable filters or beat the dust out of them to extend their useful life, as that can decrease the filter’s effectiveness, clog the filter further, and potentially create an air quality hazard.

Vacuum hose
With the vacuum cleaner still unplugged, gently push your dryer vent brush or pipe cleaning brush through your vacuum’s hose to clean it out. Be careful not to push too hard—you don’t want to damage the hose accidentally. Then, use a microfiber cloth to wipe down the outside of the hose.
Vacuum head and rotating floor brush
Long strands of hair and string can easily get wrapped around the vacuum’s rotating brush and cover the bristles, making it harder for it to clean dust and other debris from the carpet. To clean the brush, cut away hair and other fibers with scissors. Then, use a microfiber cloth and a can of compressed air to clean dust from the vacuum head that houses the rotating brush.
If you can detach the brush, bring it outside and gently shake it to dislodge any bits of lint, dust, or fibers stuck in the bristles. If you can’t, use the vacuum hose to suction off any remaining debris on the bristles—just make sure to wait until everything is completely dry before putting your vacuum back together.
Finishing up
Lastly, wipe down the exterior of the vacuum, including its wheels. Check for any hidden compartments you may have missed and brush or wipe off any buildup you see. Lay washable filters and other damp parts out for at least 24 hours. When everything is completely dry, put the vacuum back together and run it for around a minute to make sure everything’s in working order.
Dealing with a clogged vacuum cleaner
If your vacuum loses suction, there’s a good chance that a clog is to blame. When large debris or trash blocks the vacuum’s airflow, your vacuum has to work even harder to suck up dust and dirt from the floor. Not only can this hurt your vacuum’s cleaning power, but it may also cause the motor to overheat and eventually burn out. So, it’s best to remove vacuum clogs as soon as you notice them.
First, you’ll need to unplug the vacuum and find the clog. There are three main places to check:
- The hose: Detach both ends of the hose and shine a flashlight through it. If something blocks the light, you’ve found your clog. Then, place one end of the hose in a trash bag and gently push a broomstick or pipe cleaning brush through the other side of the hose and into the bag.
- The head: Check the head to see if anything is blocking the hole behind the rotating brush. If there is, use your fingers or a pipe cleaner to pull out the clog.
- The vacuum body: If the clog isn’t in the hose or the head, check the opening where the hose connects to the vacuum. You may need to poke your finger around to feel for the clog (gloves will come in handy for this step). Use your fingers or a pipe cleaner to pull out as much of the clog as possible.
Once you’ve cleared the clog, put your vacuum back together and give it a test run. The suction should be back to normal. If not, you may need to check for another clog or take your vacuum in for repair.
Handling stinky vacuum cleaner smells
If your vacuum smells bad, it usually means one of two things: it sucked up something smelly or there’s a problem with its operation. Figuring out why your vacuum stinks is usually pretty simple. Mechanical and electrical issues typically cause burning, rubbery, or plasticky smells. Odors caused by debris smell more like mildew, a wet dog, or a stinky gym bag.
Getting rid of electrical and mechanical smells
A burning rubber smell typically points to a problem with the vacuum’s belt, usually caused by hair or other debris keeping the rotating floor brush from spinning properly. To fix this problem, clean off the brush. Chemical or plasticky smells often mean that the motor is overheating. Regular vacuum maintenance and clog removal should eliminate these smells by keeping the motor in good working condition. If cleaning out your vacuum doesn’t make the smell go away, you may need to take it to a repair person to check for an electrical issue.
Removing other bad vacuum odors
Sometimes, the debris in your vacuum’s dust bag or canister can start to stink, especially if you haven’t emptied the vacuum in a while or you suck up something smelly—like pet fur or dirt from a wet carpet. To get rid of the smell:
- Empty the vacuum cleaner and throw the contents in an outside trash bin.
- Replace the bag or wash out the canister with an antibacterial wipe or warm soapy water, depending on the manufacturer’s recommendations. If the dust canister still smells after you’ve cleaned it, try wiping it down with a mixture of vinegar and water to get rid of any stubborn odors.
- Let the canister dry completely before reattaching it to the vacuum.
After cleaning your vacuum, you can keep things smelling fresh by occasionally sprinkling baking soda on your carpet before you vacuum or placing a dryer sheet in your dust collection canister.
Regular cleaning and maintenance are essential for extending the life of your vacuum and optimizing its performance. Vacuums can be a valuable tool for reducing dust, pet dander, and other particle pollution in your home—just make sure to check the owner’s manual before you start deep cleaning yours for the first time. To learn more about how vacuums can affect your indoor air quality, read our post: HEPA Vacuum: What It Can and Cannot Do.
Vacuum and confetti image by No Revisions on Unsplash, photo of vacuum cleaner motor by Daniel Garcia on Wikimedia Commons, photo of cleaning supplies by Polina Tankilevitch, photos of vacuums cottonbro studio.


.jpg)